Dear fellow professional and aspiring framebuilders;
I am Burcak Erbil; owner of Brelis Cycles from Istanbul/Turkiye. From a hobbyist, part-time, then finally a full-time award winning framebuilder, I have been building bicycle frames since 2011. Like most aspiring framebuilders new to the craft (also trusting in my background as a Metallurgical/Mechanical Engineer with 16 years of experience on engine design); I’ve set out to build my own framebuilding jig in my early days as I started the hobby. However, as many frustrated framebuilders who have gone through the same path have experienced, my first jigs worked a little “less than ideal” so to say! It took a few iterations in fact; designing the jig all over from scratch, until I was happy with the accuracy and functionality of it. And I have been building with this jig for about 10 years…
During this time frame, I was able to see its shortcomings and introduce several improvements and add-ons to it. And lately, even though I was able to afford and ship a commercially available jig now, I found myself not wanting to do that; simply because my own jig had all I was asking for; it was so accurate, practical, and had some features that were not available in other jigs.
So, this gave me the idea to really upgrade its design to the next level and make it available to other fellow framebuilders...
THE JIG :
The main objective for me was to design a jig that will fulfil the requirements of framebuilders from novice to pro, and capable of building a wide variety of bikes, but at the same time stay at a price conscious point. This I’ve tried to achieve by minimizing unnecessary cosmetics, but without any compromise on accuracy or functionality.
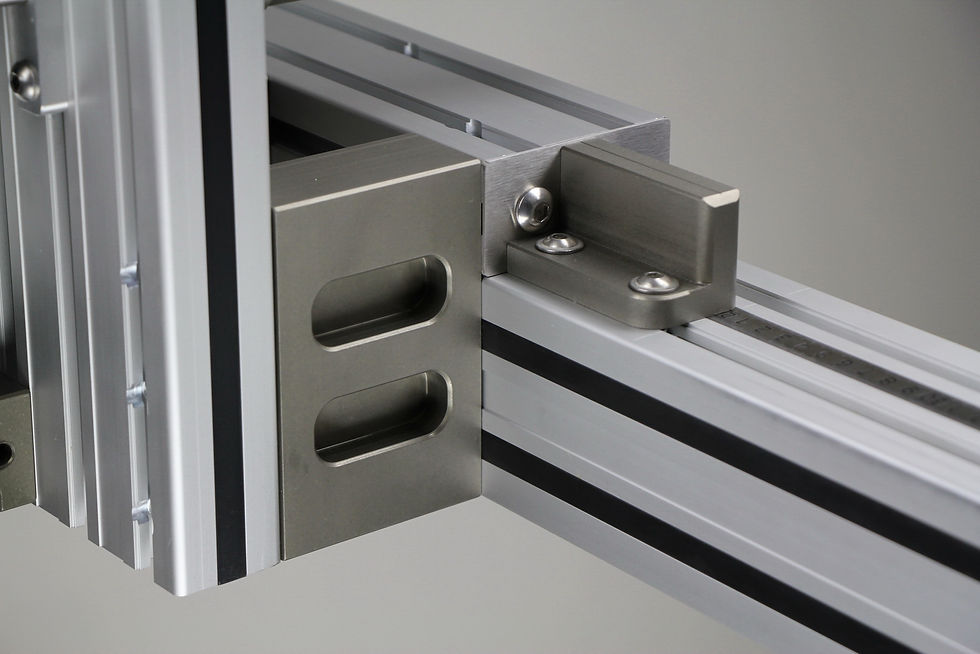
In direction of this objective, you will see that I have predominantly used aluminium extrusions in the main structure of the jig, which makes it lighter and more portable for shipping too. I always thought these engineering aluminium extrusions are a great material to build a jig out of, having values of 0.1mm per metre straightness, and 0.05mm flatness; but provided they are arranged and connected in the right way. (I cannot emphasize “arranged and connected in the right way” enough; as my first designs taught me like I mentioned!)
The proof for me is that I have built a lot of frames with a much simpler version of this jig (but with the same construction) and it always produced such accurate frames.
Apart from that, as I mentioned before the Brelis Jig also employs some very innovative ideas and unique features that will bring extra practicality and accuracy to your framebuilding.
Some of these are;

Micro-Adjustable Headtube Beam:
No matter by which manufacturing method the parts of a jig is produced, there will always be a certain level of tolerances involved. My philosophy was to always have a countermeasure for such tolerances on critical points of the jig. An example being the Micro Adjustable HT Beam; the position and orientation (HT Twist) of the headtube can be fully calibrated.


Integrated Dummy Wheel:


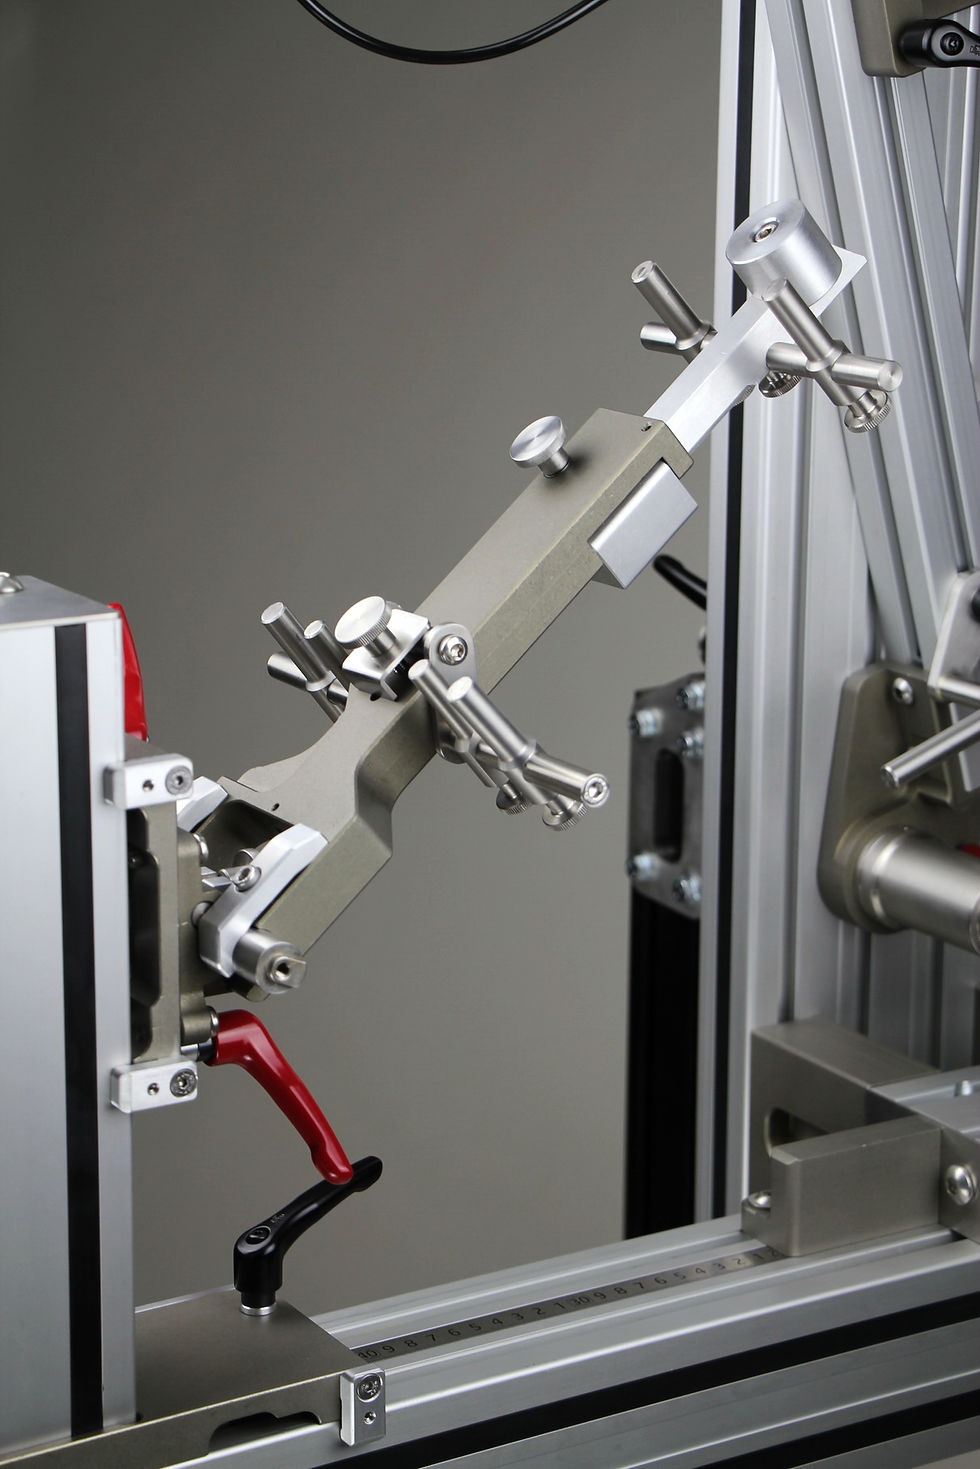
This is one of my favourite features of the Brelis Jig... Rather than relying on auxiliary stay tables or similar solutions to position and fix the stays during the build, the stays are held in place by the Dummy Wheel; and as the dummy wheel is the actual true representation of the wheel centerplane, this produces a much more precisely aligned rear end, with symmetrical stays and equidistant clearances around the tyre.
And this dummy wheel is not a simple add-on with limited functionality; it is fully integrated into the Jig. It can move up to a full vertical position, as well as horizontal. And that way, with the help of respective centre marks on the jig, the alignment of the rear axle can be calibrated very precisely both in Roll and Yaw.
Furthermore, the dummy wheel can be removed out of the jig in a matter of seconds, and can be used stand alone on a frame to braze/weld on bridges, brake bosses or confirm tyre clearances by switching corresponding attachments.
Fully Adjustable Rear-Axle Alignment:
The rear axle alignment is adjustable and can be calibrated easily, without any special tools, and on the jig; simply by aligning the center reference at the tip of the Dummy Wheel Rod with the frame centerline references on the jig. And the alignment can be checked in a couple of seconds or calibrated even during the build.


Conical HT Supports:
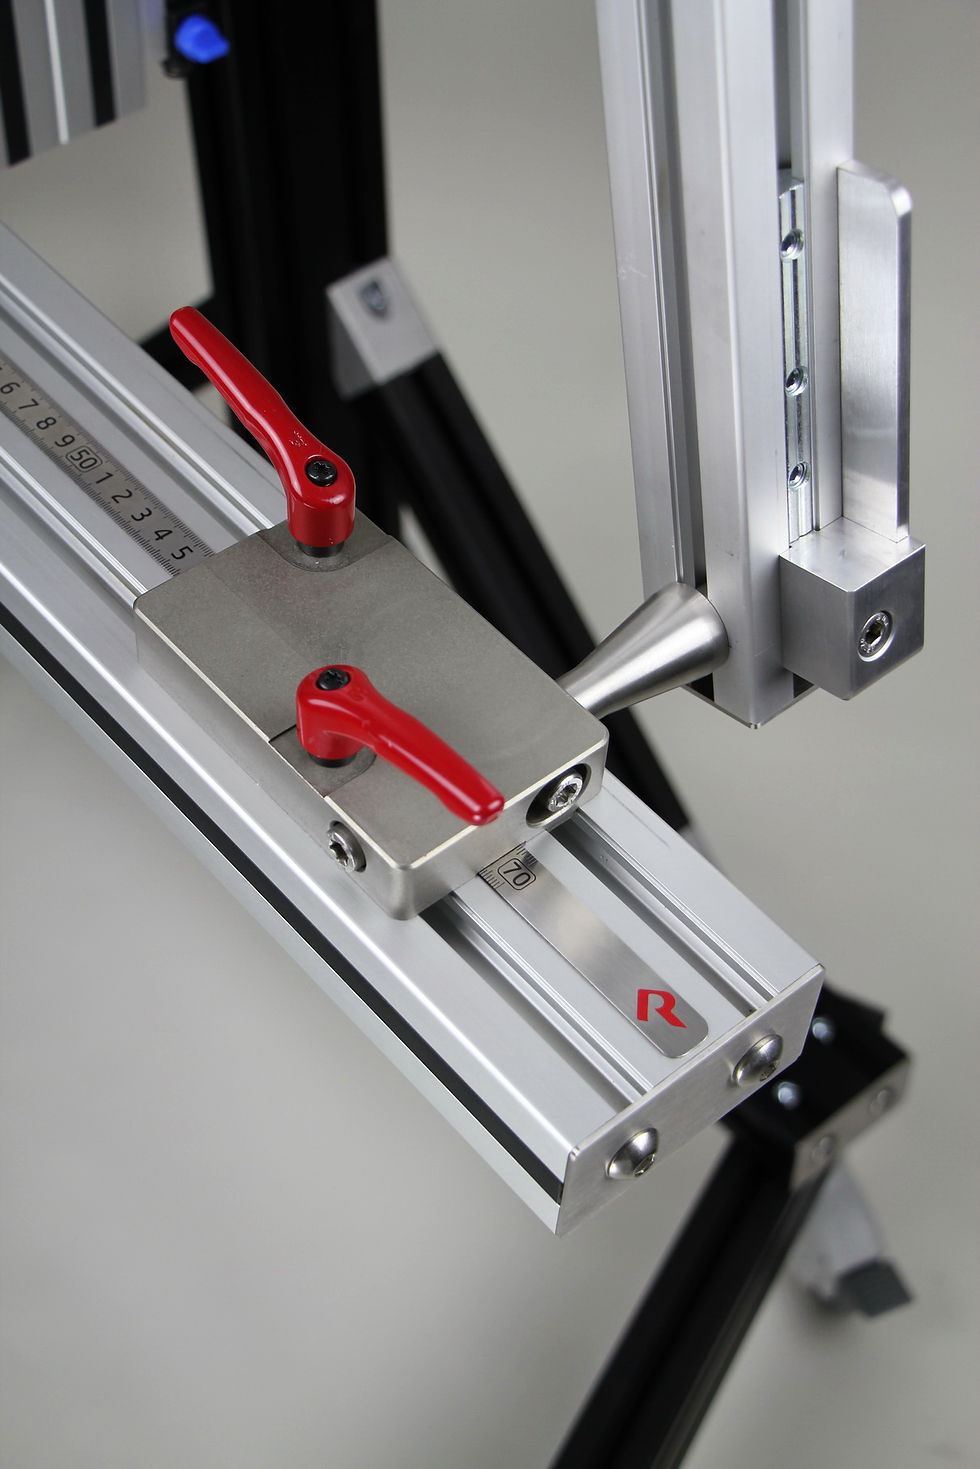
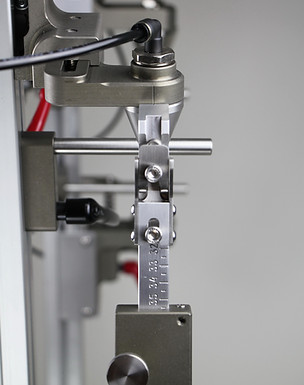
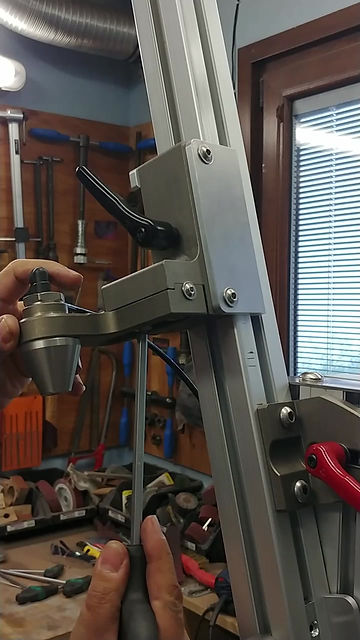
The Brelis Jig utilizes a cone for locating the bottom of headtube; rather than a “puck” as on most other jigs. There are two big advantages with that: First is better accuracy; because there is no clearance between the cone and HT. With a puck fitting you inevitably need a clearance between the puck and inner diameter of the headtube. And because the “raw” headset diameter does not have a common standard as the finished diameter, and can differ between different suppliers, this clearance may end up to be larger than ideal. And the second advantage is obvious; you don’t need several pucks for each HT standard, rather one single cone that supports all kinds and diameters of Headtubes from 25.4mm to possibly 60mm.
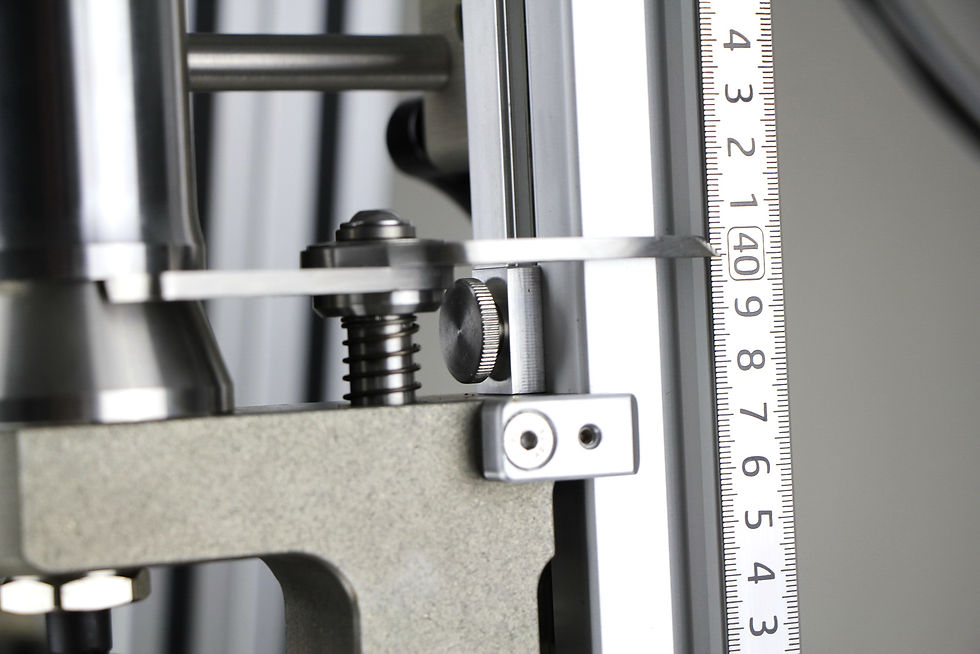
The challenge in a cone setup is setting up the bottom surface of the HT on the jig; as different HTs will sit at different heights on the cone. The solution to that on the Brelis Jig is an ingenious pointer mechanism; which is both precise and simple to use.

Smooth and Precise Slide Action:
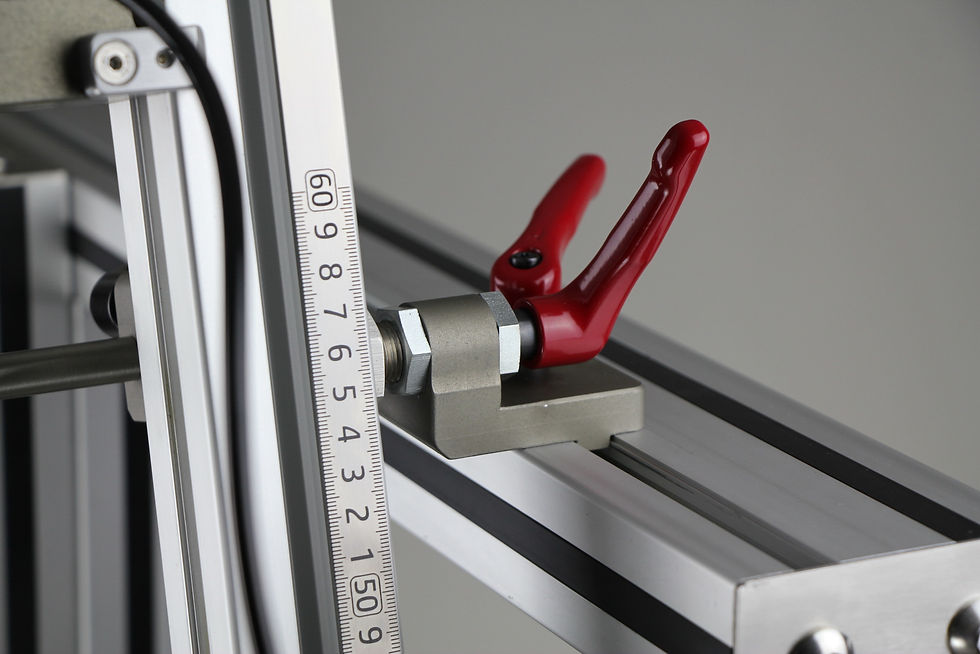
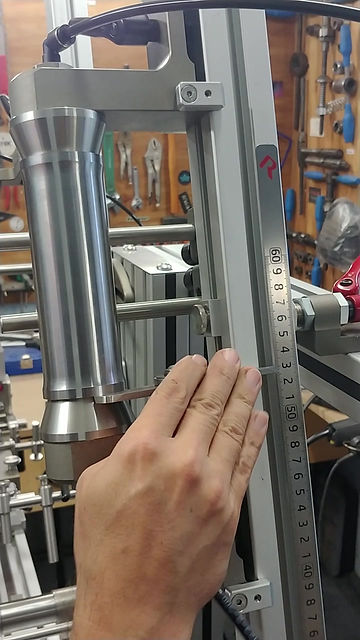
The slides of the Brelis Jig is pre-loaded with internal leaf springs, which prevents play for better accuracy. Hence their action is firm, yet smooth.
Sliding Action of Rear Post:
During the build, the builder can slide the whole Rear Axle Post in and out of the frame, with the chainstays attached to it, without disturbing the rear axle lateral alignment. This is an action that cannot be applied in most other jigs, because on the Brelis Jig the rear axle post carries the chainstays too (thanks to the Integrated Dummy Wheel), and the post is supported and guided by the beam directly beneath it, rather than being cantilevered from the side structure as on most other jigs.
This may seem trivial, but this is probably one of those things you wouldn’t know you needed, until you had it.

Seattube Offset:
You can introduce an offset up to 60mm at the top support of the seatpost.
Digital Angle Finder Compatibility:
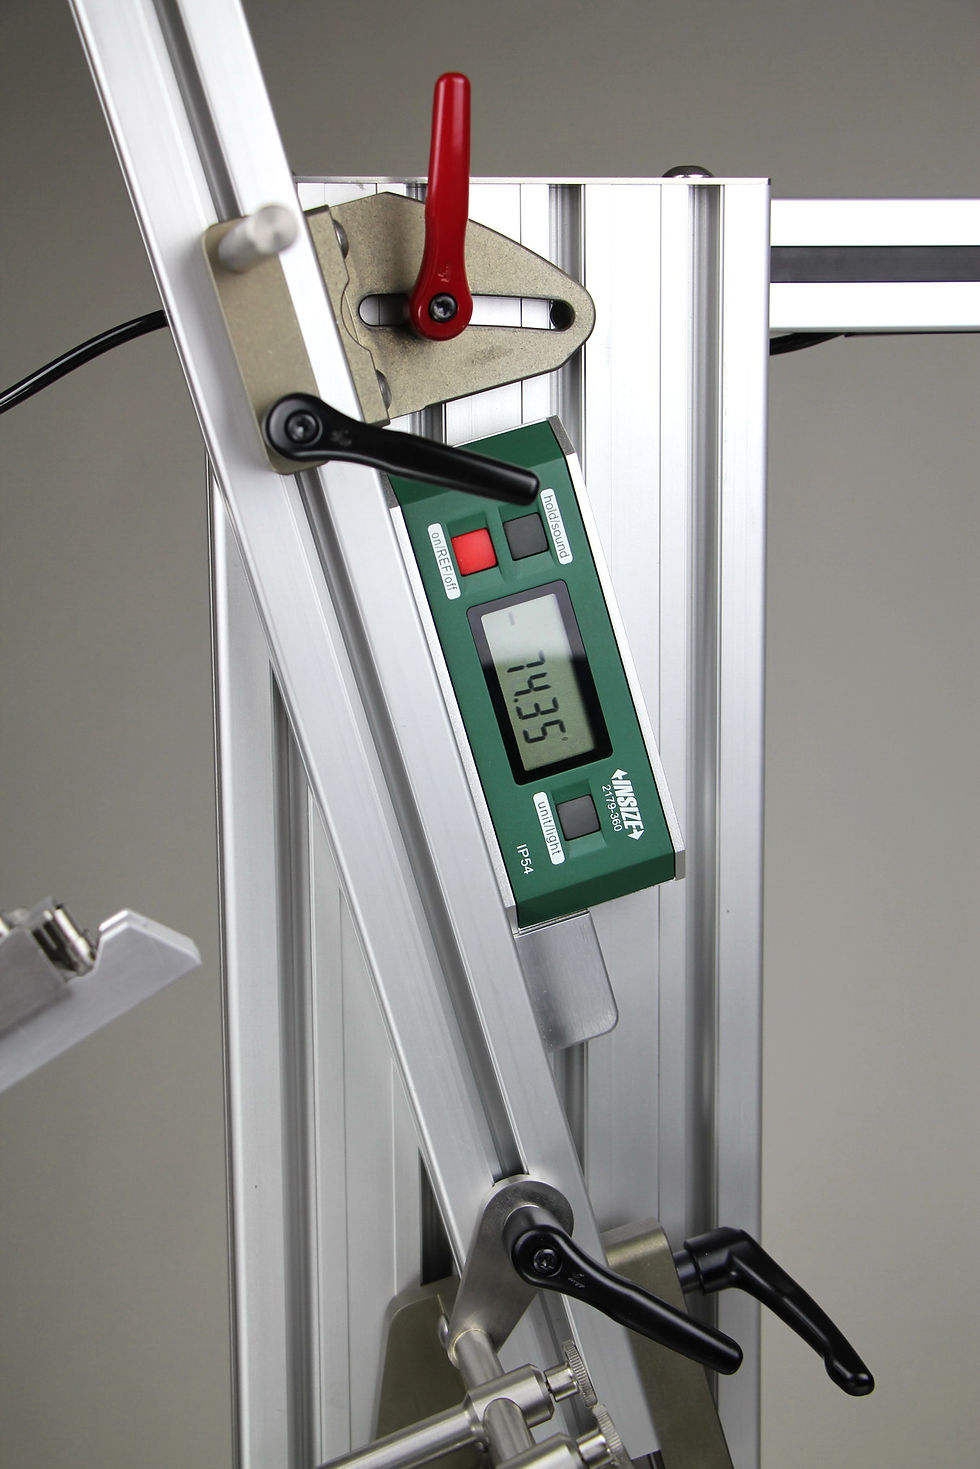
Rather than having manual angle scales, I have gone for specific placement points for Digital Angle Finders on the jig. The reason being; a deviation of 0.1 degrees in HT or ST angle can shift the frame junction points around 1mm. Therefore, it is evident a manual scale with 0.5 or even 0.25 degree increments will not offer sufficient resolution for accurate and repeatable setting of the jig in my opinion.
By a digital angle finder, you can set the angles with 0.1 or even 0.05 deg accuracy, and because there are dedicated attachment points with steel rails which attract a magnetic angle finder, it is still fast and practical to use.

Effortless 360deg Rotation:
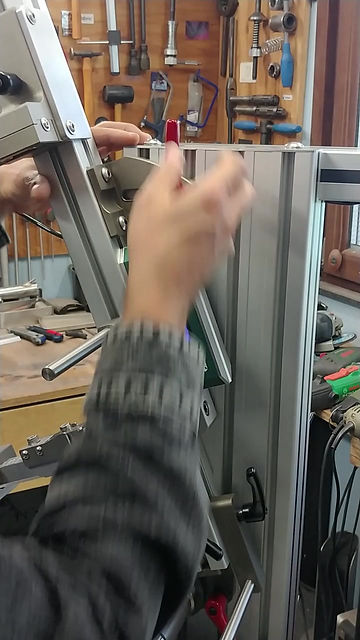
Brelis Jig is designed to rotate flawlessly on a heavy duty stainless pivot shaft, which is carefully aligned with the G center of the jig, working in a specifically designed bearing clamp;. This makes it possible to rotate the whole jig with one hand effortlessly and hold it still, in balance, in any position for tacking tricky areas.
And a separate locking mechanism is present too; to easily lock the jig rigid in horizontal position when necessary.


BUILD SPECS:
Max Stack/Reach of Frame ~ 800/650mm
Max Front Center ~ 940mm
ST Angle Range: 63/90+deg
Max ST Length (c-top): 700mm
ST Offset Range: 0/60mm
HT Angle Range: 50/90+deg
Max CS Length (c-t-c): 550mm
BB Drop Range: -48/+122mm
Max BB Width: 120mm
Rear Dummy Axle: All PMW 19mm
PHOTO GALLERY:


